What is an Event?
Definition 📚
Event is a component that identifies and reacts to particular actions or changes in state within the connector.
How to use an Event?
Let's say you have a Event named Notification that triggers when a new notification is received from the connector.
But you needs to route the notification to a specific trigger based on the notification type.
I would expain in Jira connector, when a new event is created in Jira, the connector triggers the Notification Event and routes the notification to the NewIssue Trigger if the notification type is NewIssue.
For example, when you subscribe Jira webhook, they give you the notification in the below types.
["jira:issue_created", "jira:issue_updated", "comment_created", "comment_updated"]
In this case, you can use the Notification Event to route the notification to the specific trigger based on the notification type.
That time we can use the Notification Event to route the notification to the specific trigger based on the notification type.
const notificationType = notification.type;

switch(notificationType) {
  case "jira:issue_created":
    return "NewIssue";
  case "jira:issue_updated":
    return "UpdateIssue";
  case "comment_created":
    return "NewComment";
  case "comment_updated":
    return "UpdateComment";
  default:
    return "Unknown";
}
Like this way, you can use the Event to route the notification to the specific trigger based on the notification type.
How to create an Event?
You can create an Event using the Interactor Engine UI or REST API.
1. Creating Event using Interactor Engine UI
Let's try to create an Event using the Interactor Engine UI.
-
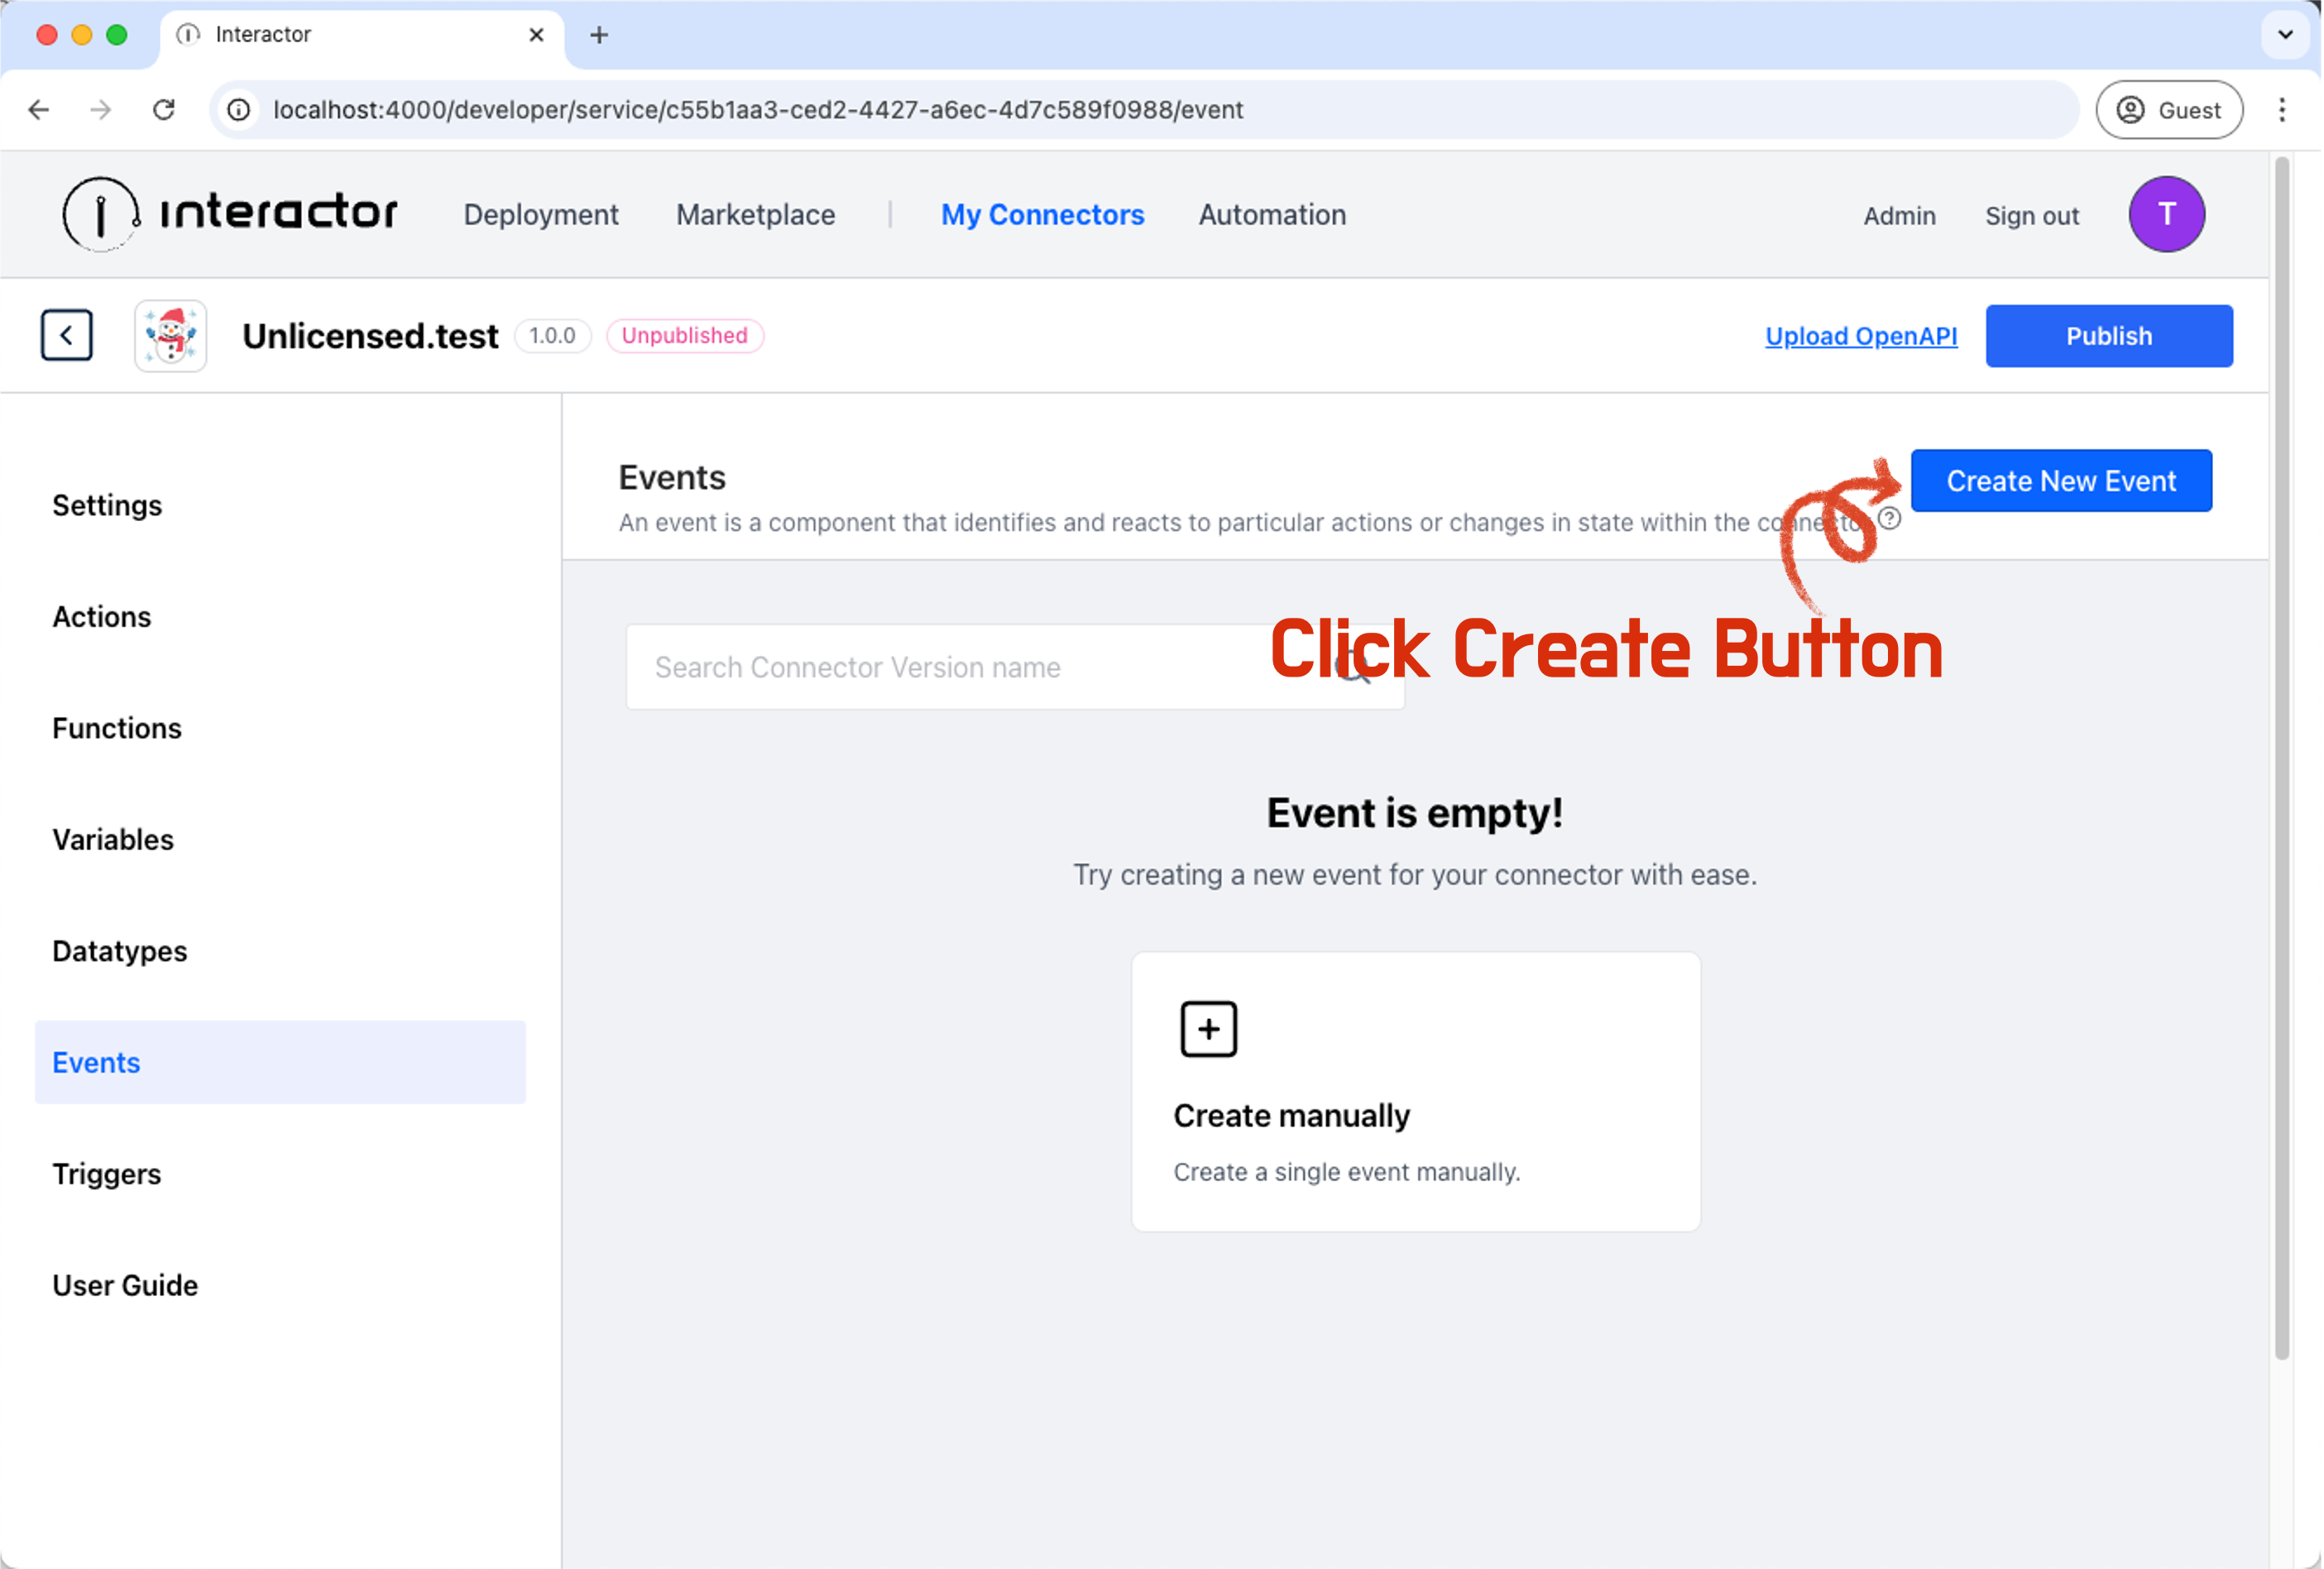
Go to the Events Page in Interactor Engine UI.
-
Click on the
Create Eventbutton.

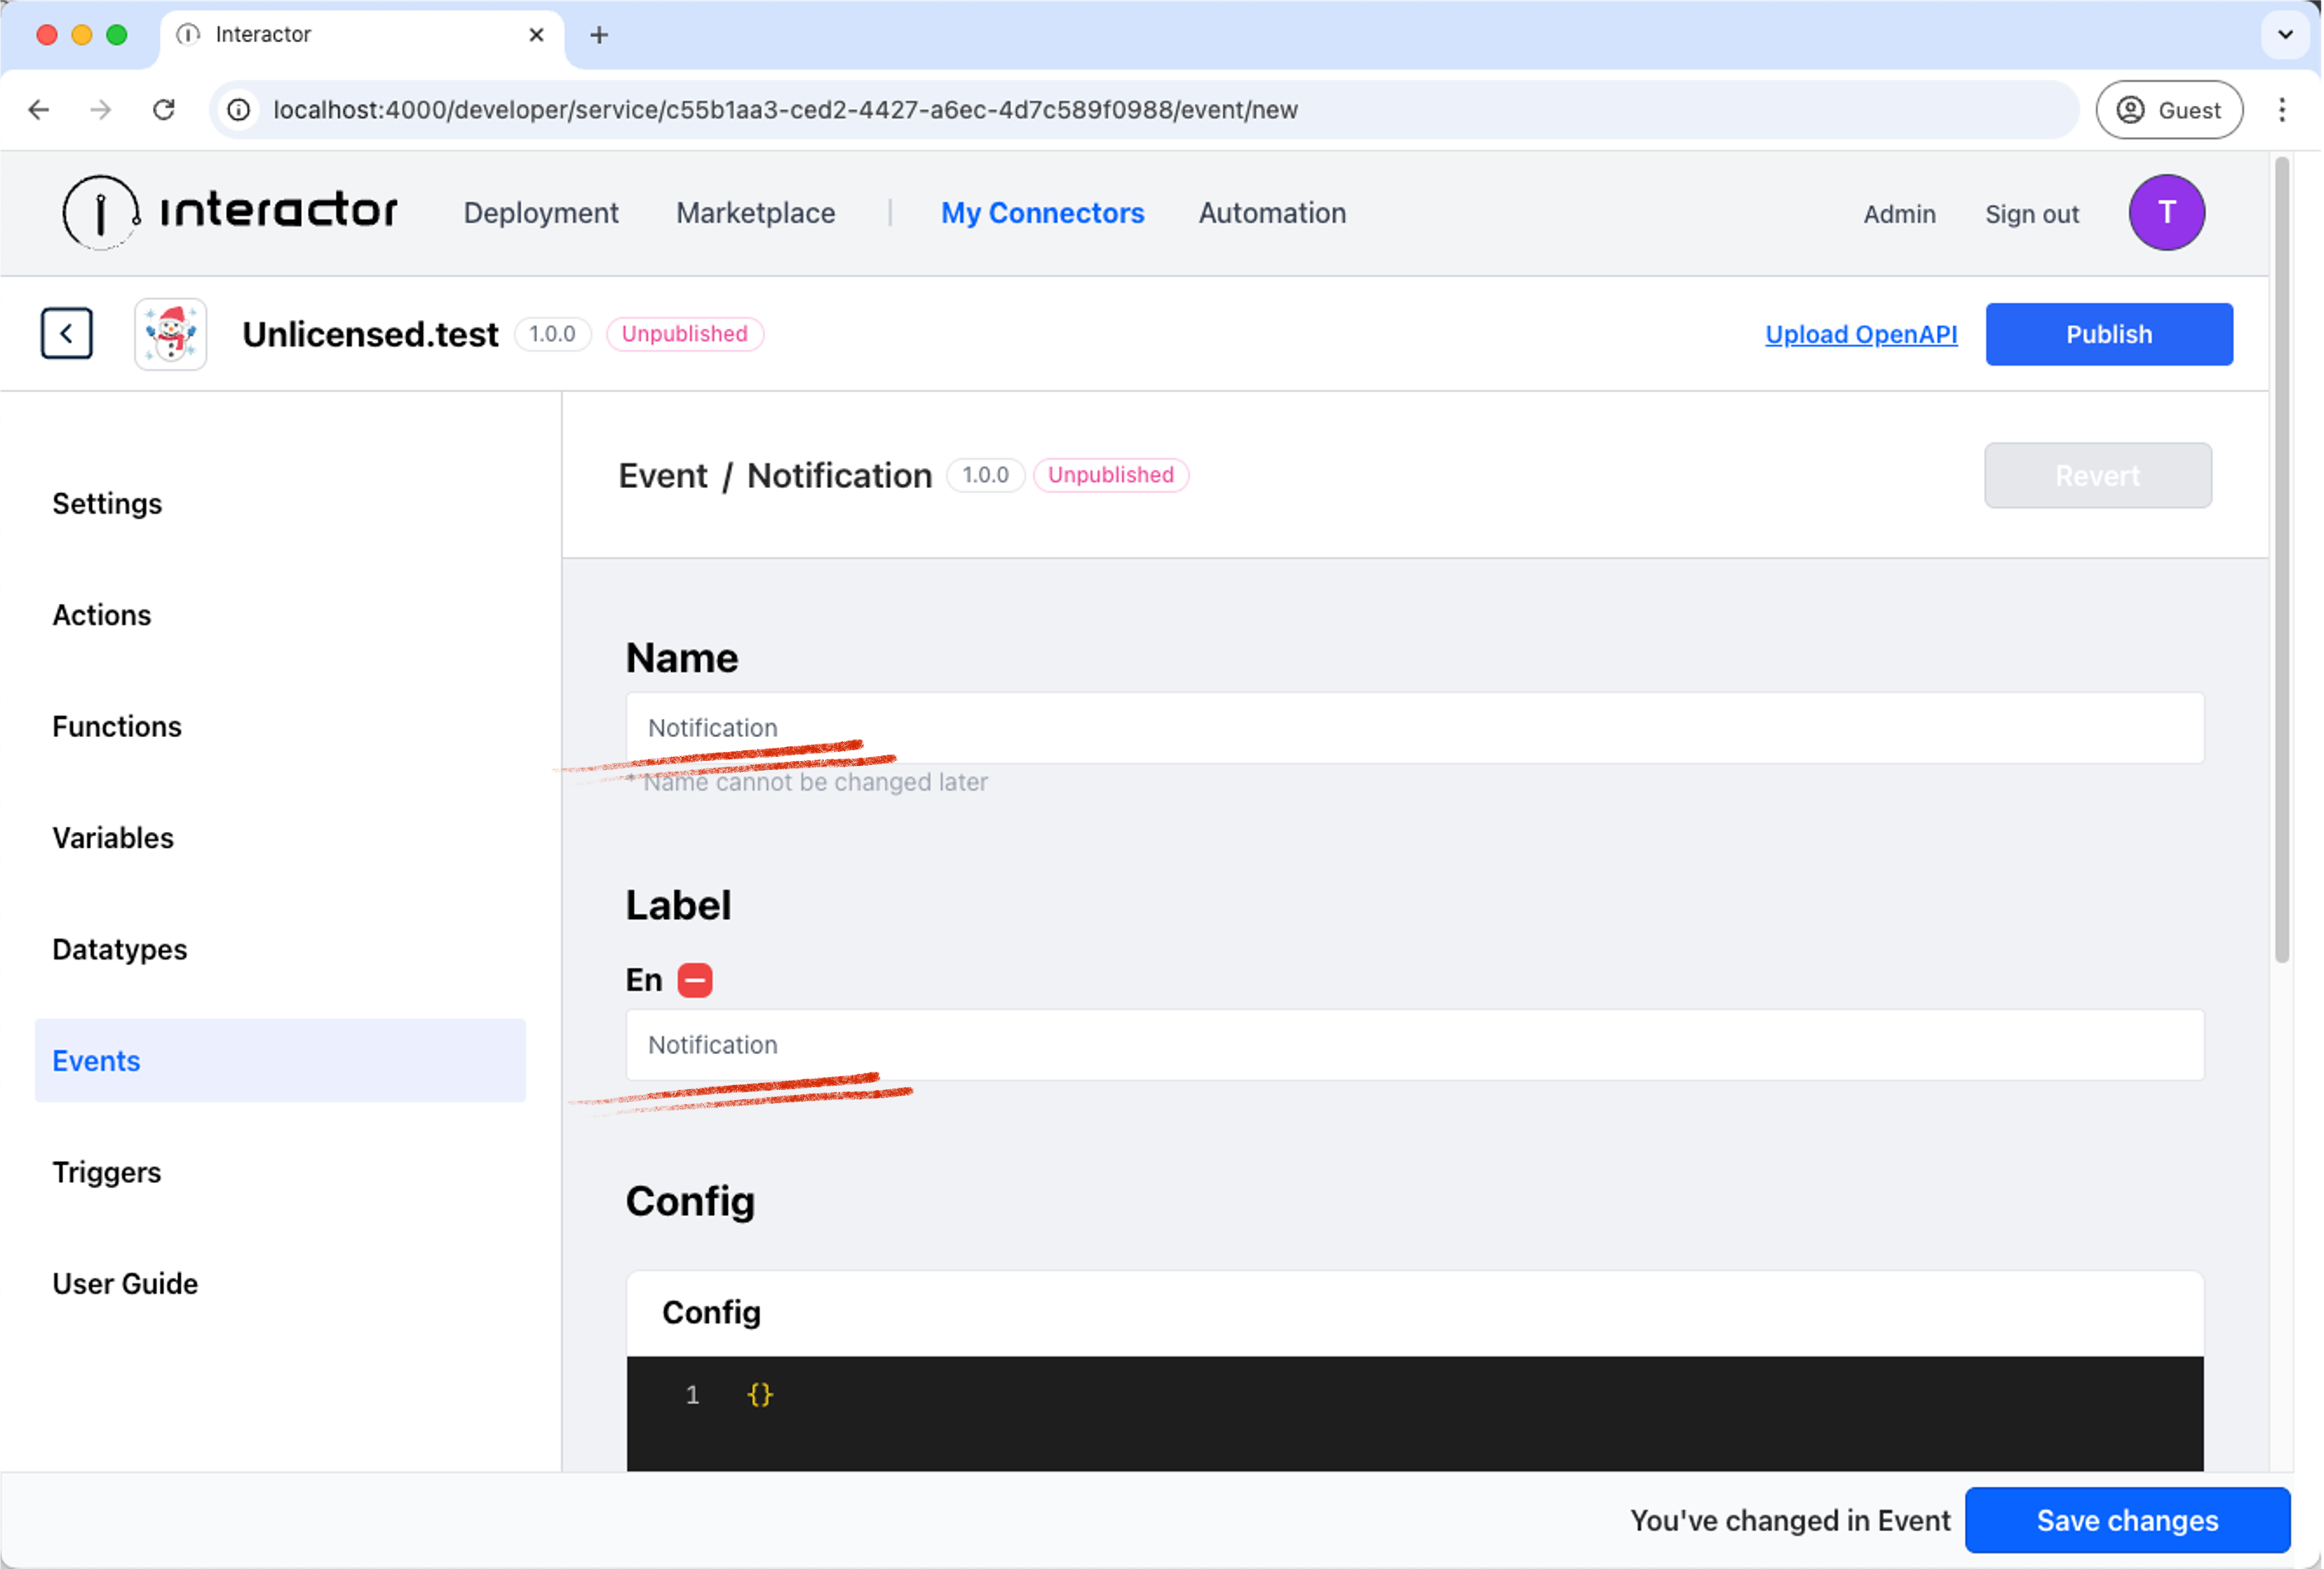
- Set the Event Name and Label.
- Write the Event Name and Label that you want to create.

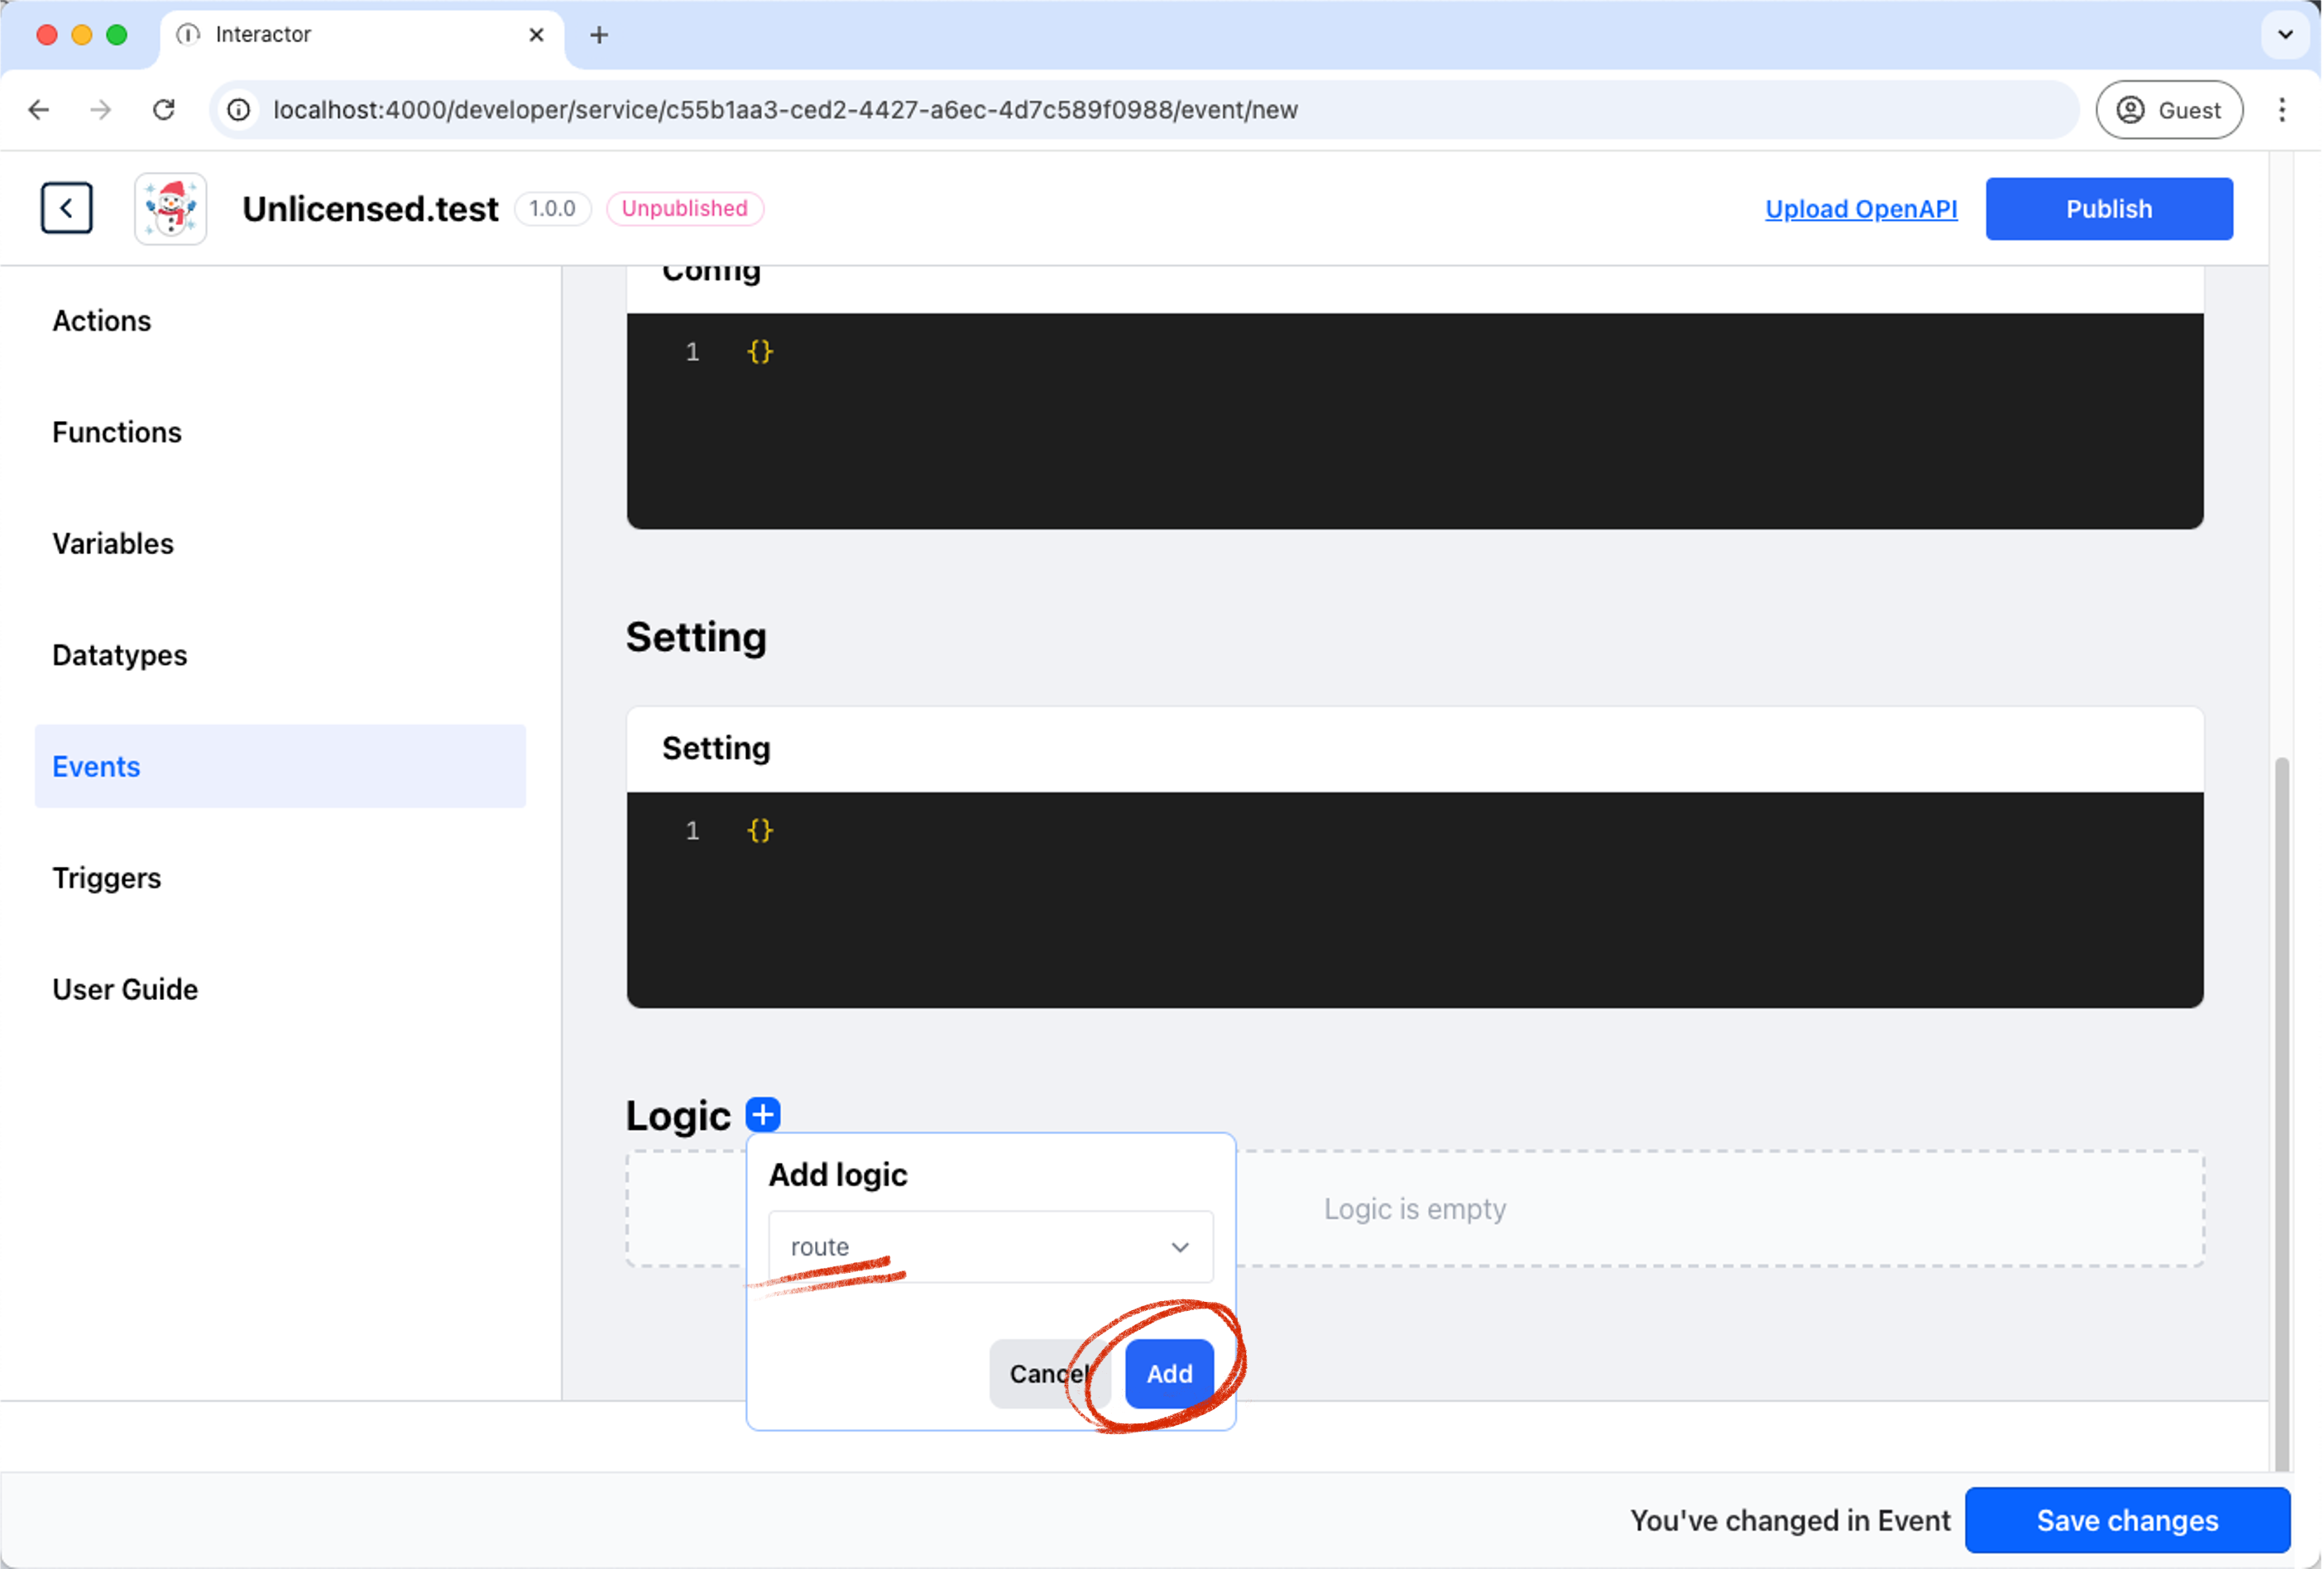
- Set up the Event Logic.
First, Click on the Add Logic button and set route.

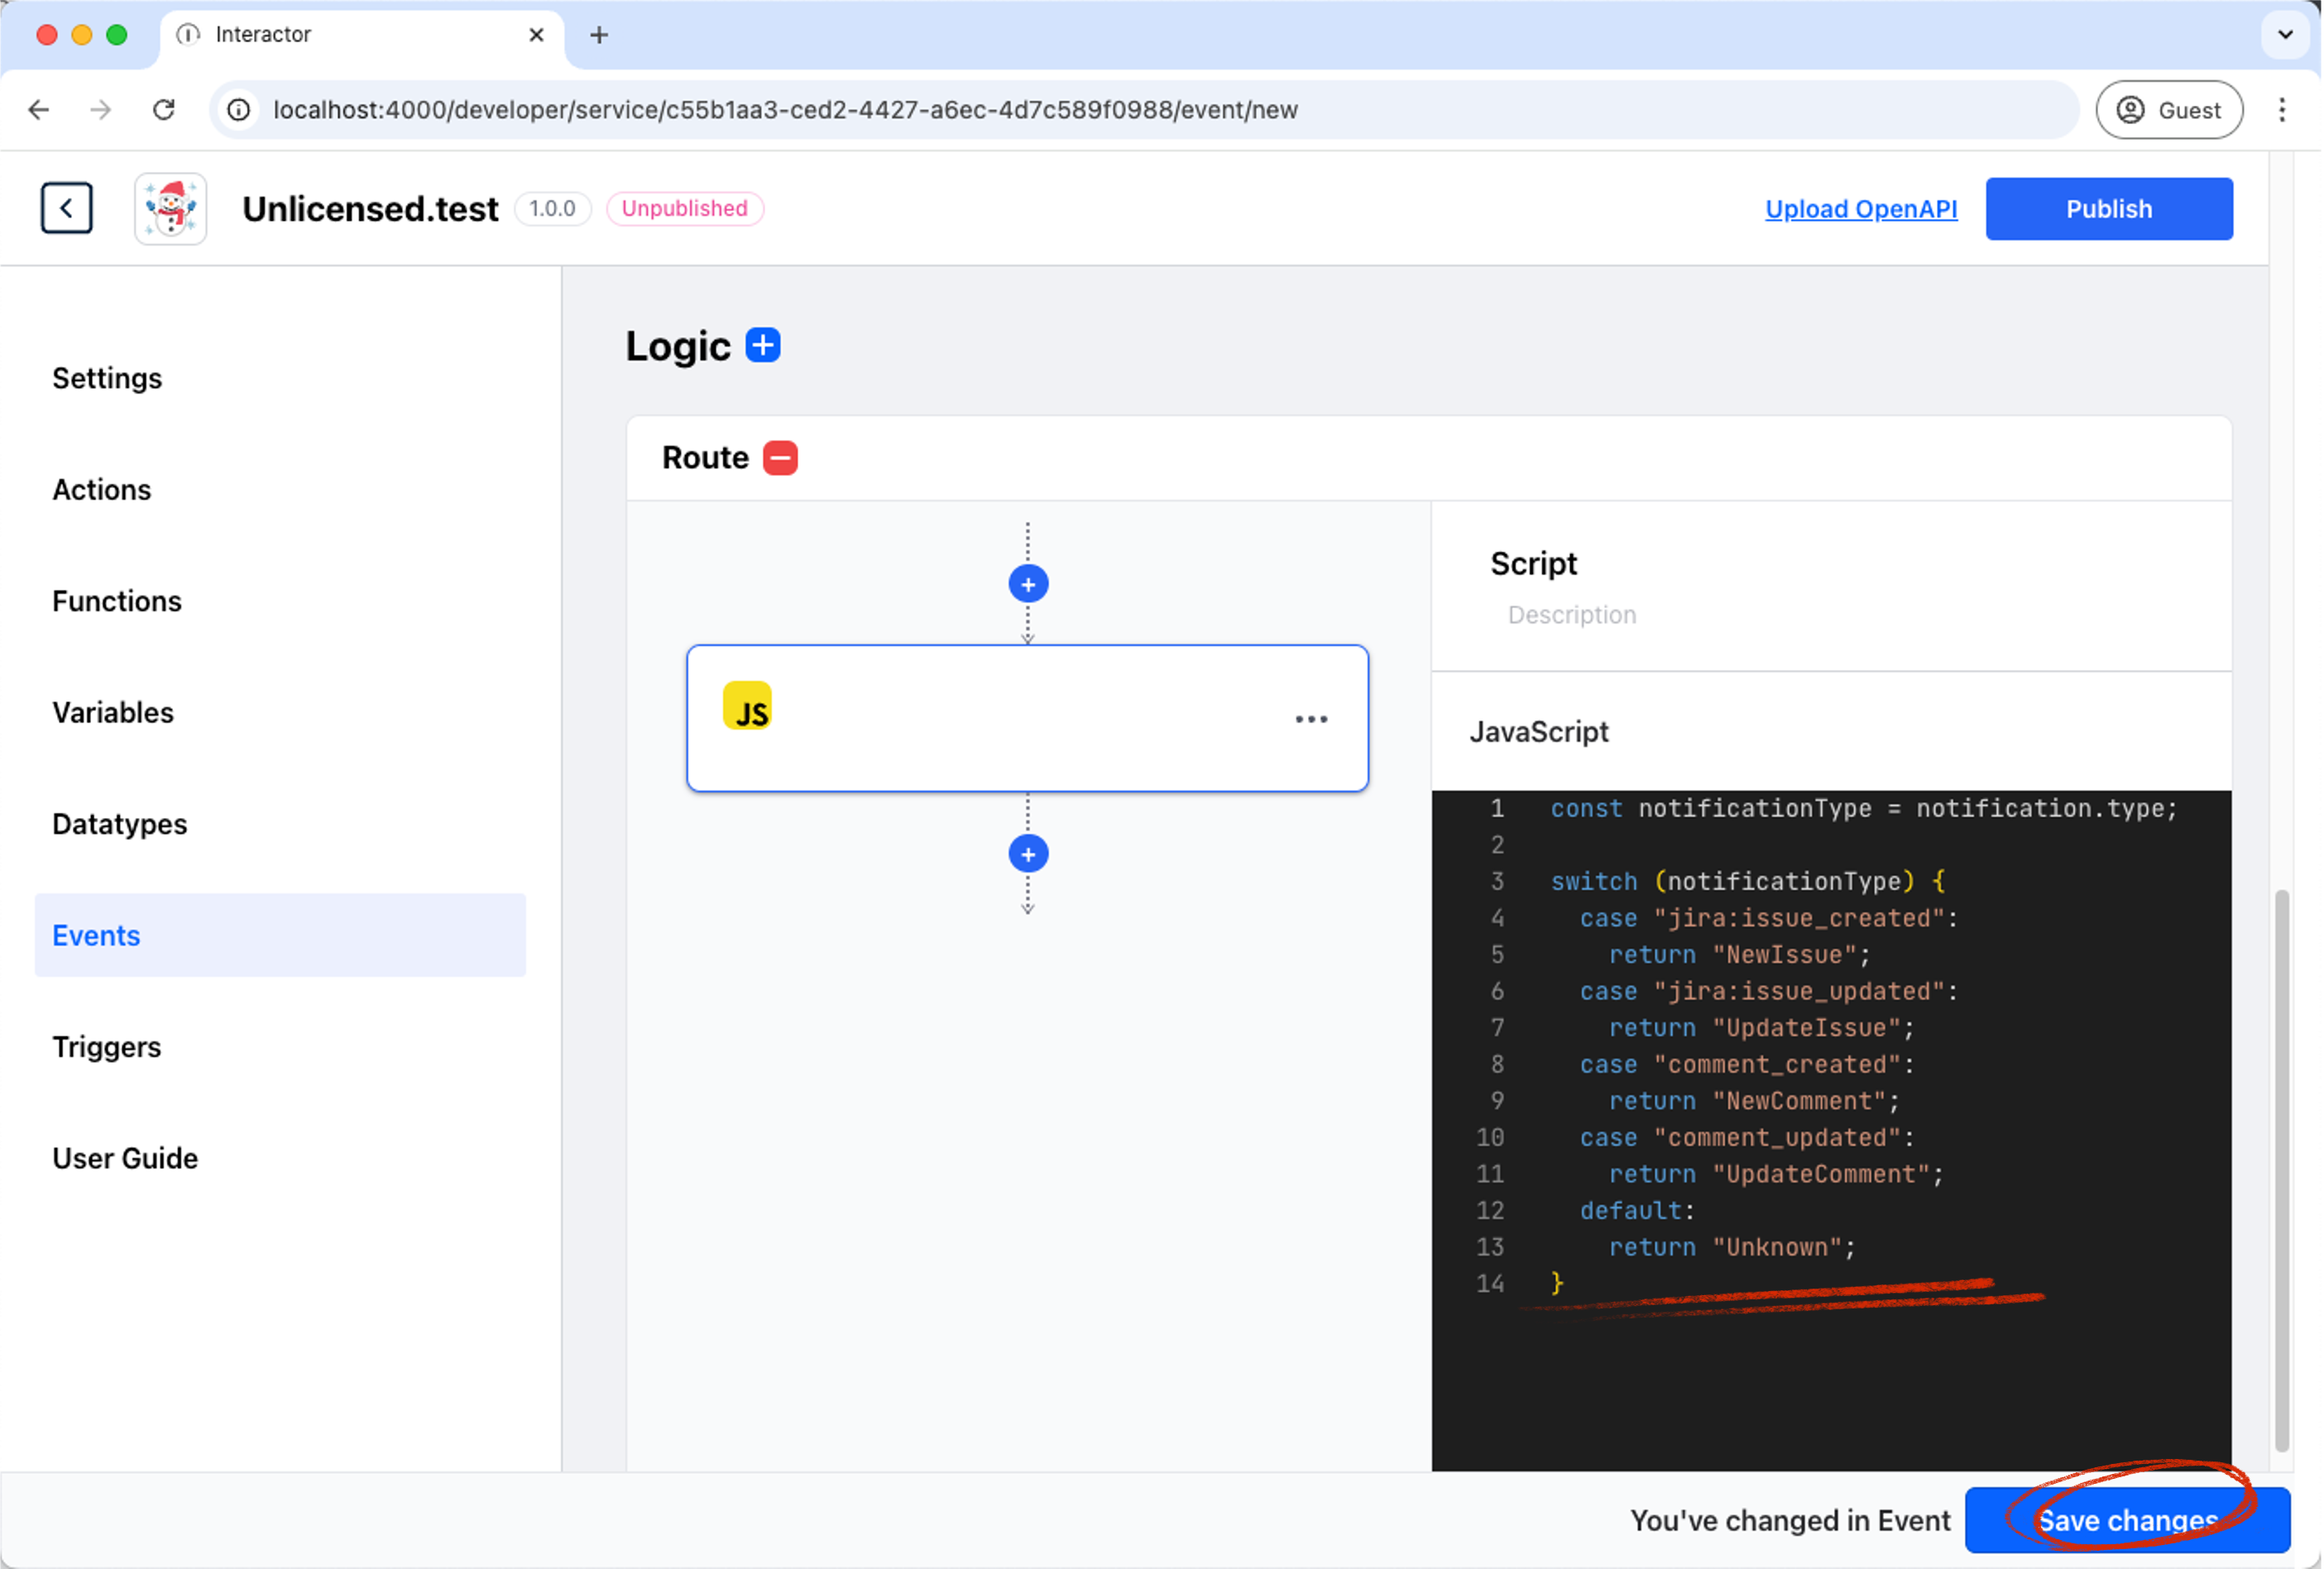
Then, Write the Function Logic. I will write the logic that returns the trigger based on the notification type.
const notificationType = notification.type;

switch(notificationType) {
  case "jira:issue_created":
    return "NewIssue";
  case "jira:issue_updated":
    return "UpdateIssue";
  case "comment_created":
    return "NewComment";
  case "comment_updated":
    return "UpdateComment";
  default:
    return "Unknown";
}
Then Click on the Save button.

Done! ✨
You have successfully created an Event using the Interactor Engine UI.
2. Creating Event using Interactor Engine REST API
You can also create an Event using the Interactor Engine REST API.
Read the Create Event for more information.
Let's try to create an Event using the Interactor Engine REST API.
curl --location 'localhost:1290/v1/connector/c55b1aa3-ced2-4427-a6ec-4d7c589f0988/event?userId=test@interactor.com' \
--header 'Content-Type: application/json' \
--header 'api_key: default' \
--data-raw '{
  "label": {
    "en": "notification"
  },
  "name": "notification",
  "type": "webhook",
  "config": {},
  "setting": {},
  "logic": {
    "route": {
      "@type": "flow",
      "operation": "block",
      "value": [
        {
          "@type": "script",
          "input": {
            "@type": "reference",
            "operation": "source",
            "path": []
          },
          "language": "javascript",
          "script": "const notificationType = notification.type;\n\nswitch (notificationType) {\n  case \"jira:issue_created\":\n    return \"NewIssue\";\n  case \"jira:issue_updated\":\n    return \"UpdateIssue\";\n  case \"comment_created\":\n    return \"NewComment\";\n  case \"comment_updated\":\n    return \"UpdateComment\";\n  default:\n    return \"Unknown\";\n}"
        }
      ]
    }
  }
}'
Done! ✨
You have successfully created an Event using the Interactor Engine REST API.